More Chapter 5

I did another video on Chapter 5 Lynda.com Up and Running with Illustrator. It was about selecting, grouping, and isolation. I learned how to group layers with a short cut. Also learned the difference between direct selection tool and the regular selection tool. I even learned how to get in and out of isolation. Isolation is where you can isolate certain selections and only work on them and nothing else.

Screen Shot 2013-11-14 at 8.47.39 AM  
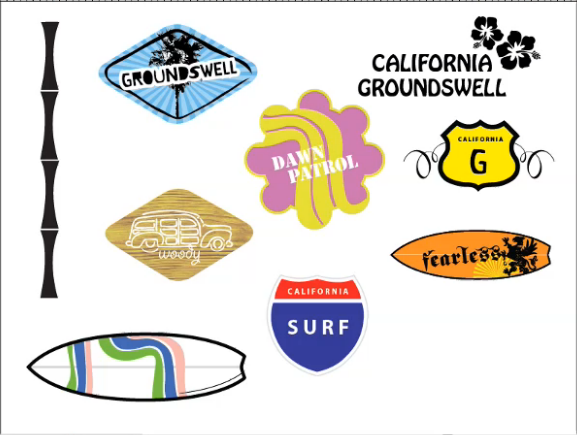
Grouping (Command+G)

Screen Shot 2013-11-14 at 8.48.24 AMIsolation (Double Click)

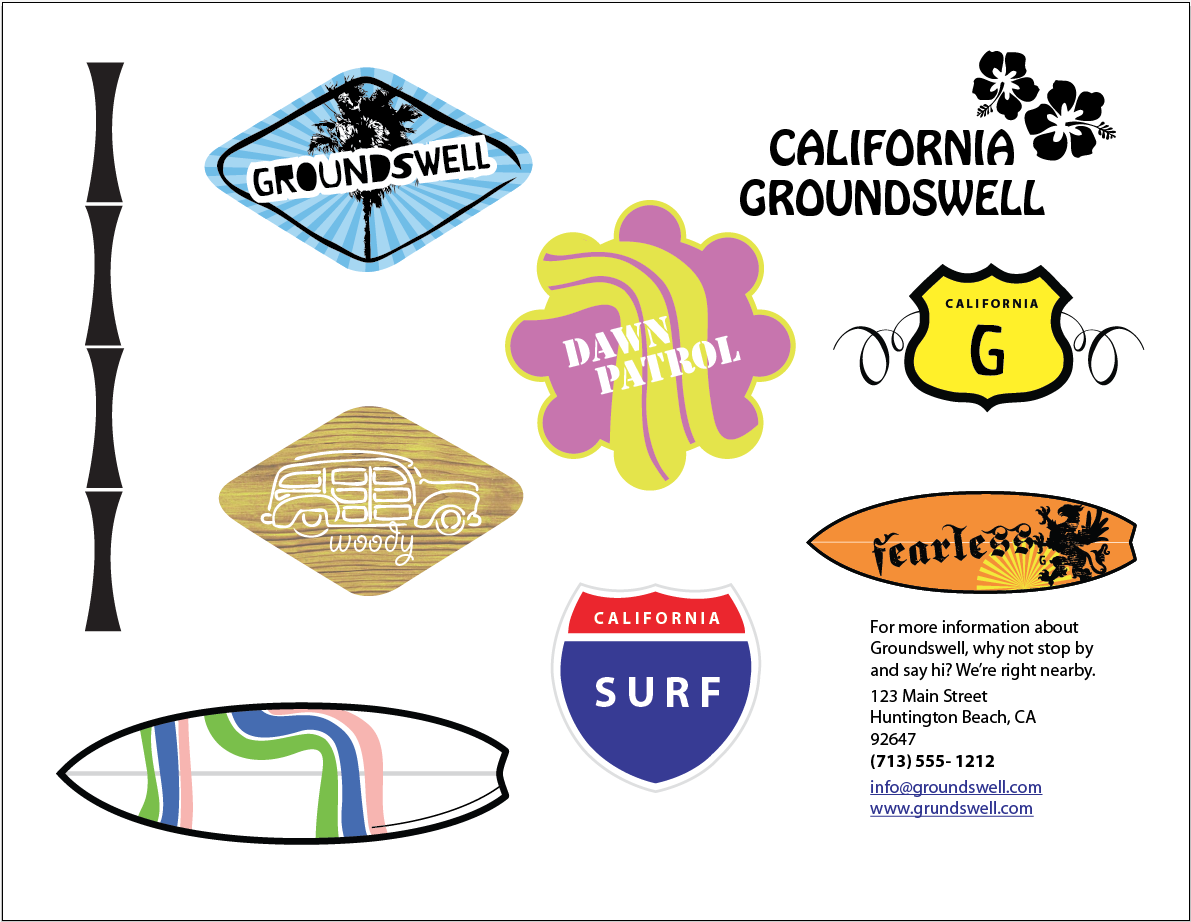
Notice that everything but the car outline is faded. that is a sign you are in isolation mode.

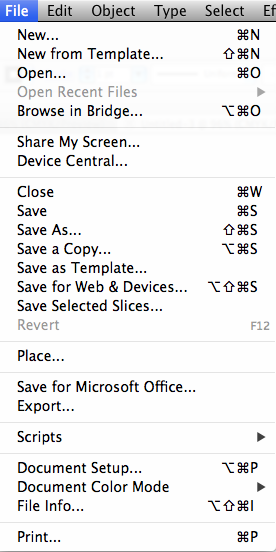
Isolation is very simple to get in and out of. You double click on a selection and it will go into Isolation. Once you are done press the escape key and you are back to normal. The direct selection tool and the regular selection tool are a little bit different the direct selection tool (a) actually select to where you see the anchor points and can alter your path also is you hold down the alt/option key and click the same thing it will show the path. the regular selection tool (v) selects the paths and groups.


Here is a little quote that I decided to but on here today.

tumblr_m7h0jtCSZv1qbvf19o1_500

Carrer Center and Illustrator

Today we had ACC where I have been taking text over personal finance. Fun right? But its not so bad just works your brain. Also when i wasn’t in ACC I worked on Illustrator. I had a little trouble following the guy on this one because my paths would somehow still be connected when they weren’t supposed to but I figured in out in the end.

Screen Shot 2013-11-13 at 9.32.08 AM Screen Shot 2013-11-13 at 9.36.09 AM


The tools i used to make this were very simple tools. I used the rectangle tool and the eclipse tool along with the shape builder tool which can also be used to delete certain shapes. then I just added the fill color and text and there you have it.

Chapter 4 Illustrator

Today I worked on lynda.com lesson up and running with illustrator I completed chapter 4. Chapter 4 was about applying fills and strokes. Applying fills and strokes in illustrator is a little bit like applying them in photoshop you just have to find the right tools. The appearance window is the go to place to apply strokes and fills.

Screen Shot 2013-11-12 at 8.46.23 AM

it is very simple to use all you have to do to adda fill and stroke is to click the second button on the bottom. That is the add fill but it also adds a stroke to edit. You can add stroke to many different things such as live text and regular path objects.

Screen Shot 2013-11-12 at 8.29.00 AM Screen Shot 2013-11-12 at 8.29.13 AM


Another cool thing you can to is fill paths with a gradient. Gradients are really easy you just click the Gradient tool or click the G key on your keyboard and click in the object you would like to add the gradient to and then alter it from the gradient menu on the side bar.

Screen Shot 2013-11-12 at 8.36.48 AMScreen Shot 2013-11-12 at 8.37.01 AM

Another cool thing is you can add different effects to your strokes such as dashes and arrows and you can also alter the width of the path with the width tool or Shift+W on your keyboard. to add the dashes you go into the appearance window and click on the word stroke to open the stroke menu.

Screen Shot 2013-11-12 at 9.02.12 AM


From here you can alter your stroke in many different ways.

Screen Shot 2013-11-12 at 8.37.40 AM Screen Shot 2013-11-12 at 8.46.13 AM

Finished Chapter 3 and Fixed Some Stuff on My Website

Today I finished chapter 3 which was really easy it was all about type which i already knew a lot about thanks to Photoshop and a little bit of Indesign. I learned how to type within a text box type on a path and type from a point all in illustrator. Here is the type box typing.

Screen Shot 2013-11-07 at 9.01.54 AM Screen Shot 2013-11-07 at 9.02.13 AM

I used the type tool to creating a bounding box to put my type in.

Here is the path and point type.

Screen Shot 2013-11-11 at 8.25.54 AM

this image shows where I typed along a path on the surf board in the bottom left hand corner. Also in the top right hand corner I used the type tool and just clicked to make a point for my type to go on. The type tool can also be the type on path tool the type in a bounding box tool it is just every tool that is grouped with the type tool all in one.

Also today I spent some time cleaning up and organizing some files on my computer and also updating my website. the reason this took so long is because I moved all my pictures into folders to help me find them easier but I had to go back and relink every single picture on my website. that was the longest part of the process but its organized. See….

Screen Shot 2013-11-11 at 9.08.45 AM

All within my Screenshots folder. It used to just be every picture all put in one folder but now its organized. I think this will help a lot. Now one thing I made sure to do was a chapter on lynda.com before I did this.

Hey you should check out my website since I added new stuff just click this link and enjoy > EmmaRae’s Website

Illustrator Chapter 2

Today i worked on lynda.com I am on chapter 2 of Up and running with illustrator. Chapter two is all about making grids, drawing basic shapes, and using the brush tools.

Screen Shot 2013-11-07 at 8.25.15 AM

Making grids is very easy all you have to do is one draw  line from your vertical ruler and one line from the horizontal ruler and then place them some where in you document. After that select both grid lines and click the align to art board button then click the centered vertical and centered horizontal buttons so your lines will intersect the idle of your art board. After this I made a circle grid by using the ellipse tool. If you hold down the option key and click where your lines intersect you will have a pop up menu that will help you make a perfect circle. After that you can use the rectangular tool and draw it from one corner of your document to the other. After you have drawn your rectangle you can got to View > Guides > Make Guides. And adjust how many columns of guides you would like. After all of that it would be smart to lock your guides. Once all of that is done You should have something that looks like this

Screen Shot 2013-11-07 at 8.25.23 AM

Now Making basic shapes is very easy. I made a circle with a star in it and some stripes behind it. To make this i used the guides i had already made and also used the rectangle ellipse and star marquee tools. first I made the stripes with the rectangular tool I made them each one row apart, two rows wide, and one block away from the edges on each side. After i made the three rectangles  I used the fill button to fill them with red. Then i selected the ellipse tool and made the circle i lined up the circle and held the shirt key to make it perfect. After I made the circle i used the fill button to make it blue. Then is was on to the star. A really cool thing about the star marquee tool is that you can click the up arrow key and it will add more points also holding the option key makes the points all the same and the shift key makes it straight. After i made the star i used the fill button to make it white. Here it is.

Screen Shot 2013-11-07 at 8.31.25 AM

Now something that I didn’t think illustrator had. Brush tools. He wanted me to used two different brush tools to make two different faces. Just a warning i am not an artist. These two brush tools are similar but also very different one is the paintbrush tool and the other is the blog brush tool. I personally like the blog brush tool better just because it seems more smooth. the paintbrush was more for shading then for drawing. The blob was simple and easy tho work with. Alright now for the moment of truth my before and after of the faces.

Screen Shot 2013-11-07 at 8.46.10 AM Screen Shot 2013-11-07 at 8.46.28 AM

Illustrator!!

So today I finally started working on illustrator. I am very excited! So far I am just learning the basics like creating new documents and changing from one art board to 2 art boards.

Screen Shot 2013-11-06 at 8.17.54 AM

To create a new document you first go to File > New… or command new as a shortcut. That will bring you to this new documents set up. Here you can name your project, Add art boards and bleed, determine the size of your art boards, and adjust how the art boards are presented on your screen.

Screen Shot 2013-11-06 at 8.17.43 AM

The instructor had me make 6 art boards 6″ by 8″ with no bleed and presented rows by columns.

Screen Shot 2013-11-06 at 8.18.04 AM

Another thing you can do on illustrator is adjust your art boards so you have 4 instead of one.

Screen Shot 2013-11-06 at 9.20.44 AM Screen Shot 2013-11-06 at 9.22.52 AMScreen Shot 2013-11-06 at 9.31.35 AM

You can do all of this by using the art board tool. The art board tool is a lot like the crop tool in photoshop except you are adding boards instead of deleting part of a picture. What you do is adjust your first art board and then you click the move/copy the artwork with art board button to turn it off. So all you are moving is the art board. After that you just option or alt click and drag to create more boards.